Integrate Zave with Xero
Summarising the necessary steps to setup the connection between your Client Management Portal and Xero.
Please note that the Standard or Adviser Xero access needs to be granted by your Client to you, for the specific entity before you start this process. Otherwise, you will not be able to see the entity appears in the drop-down list for selection.
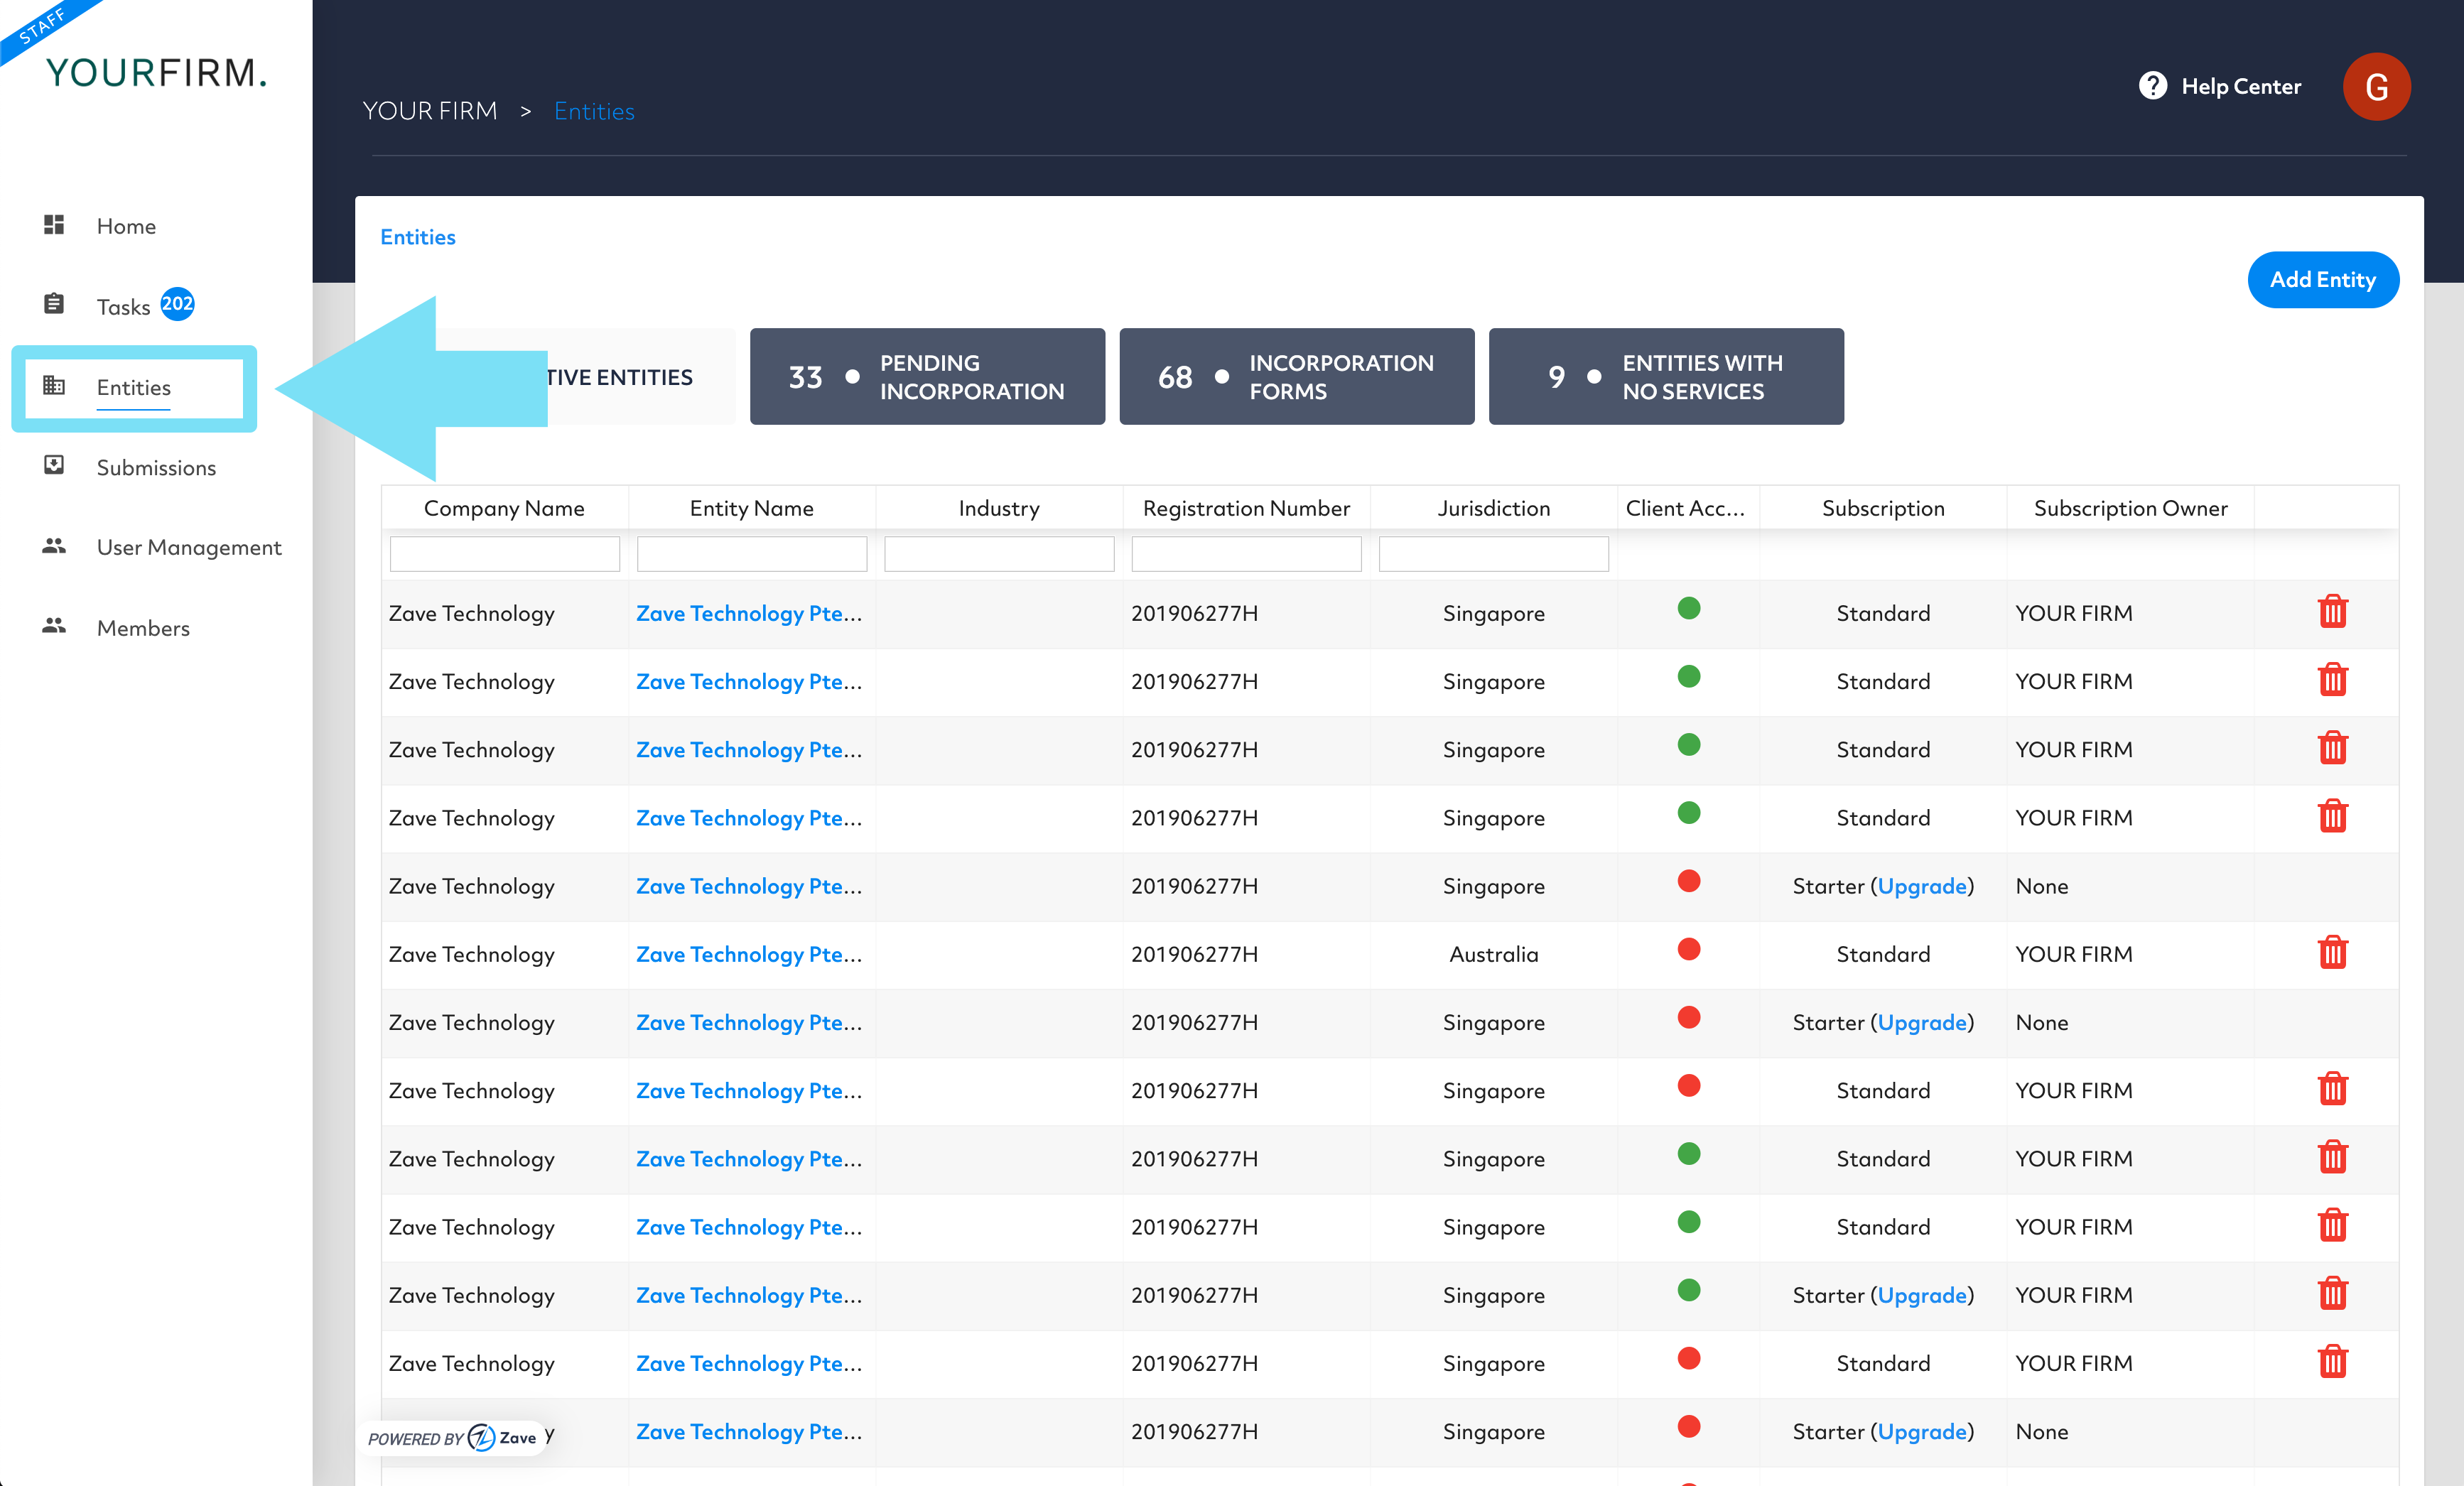
1. Log into Zave and select the Entity you would like connect to Xero
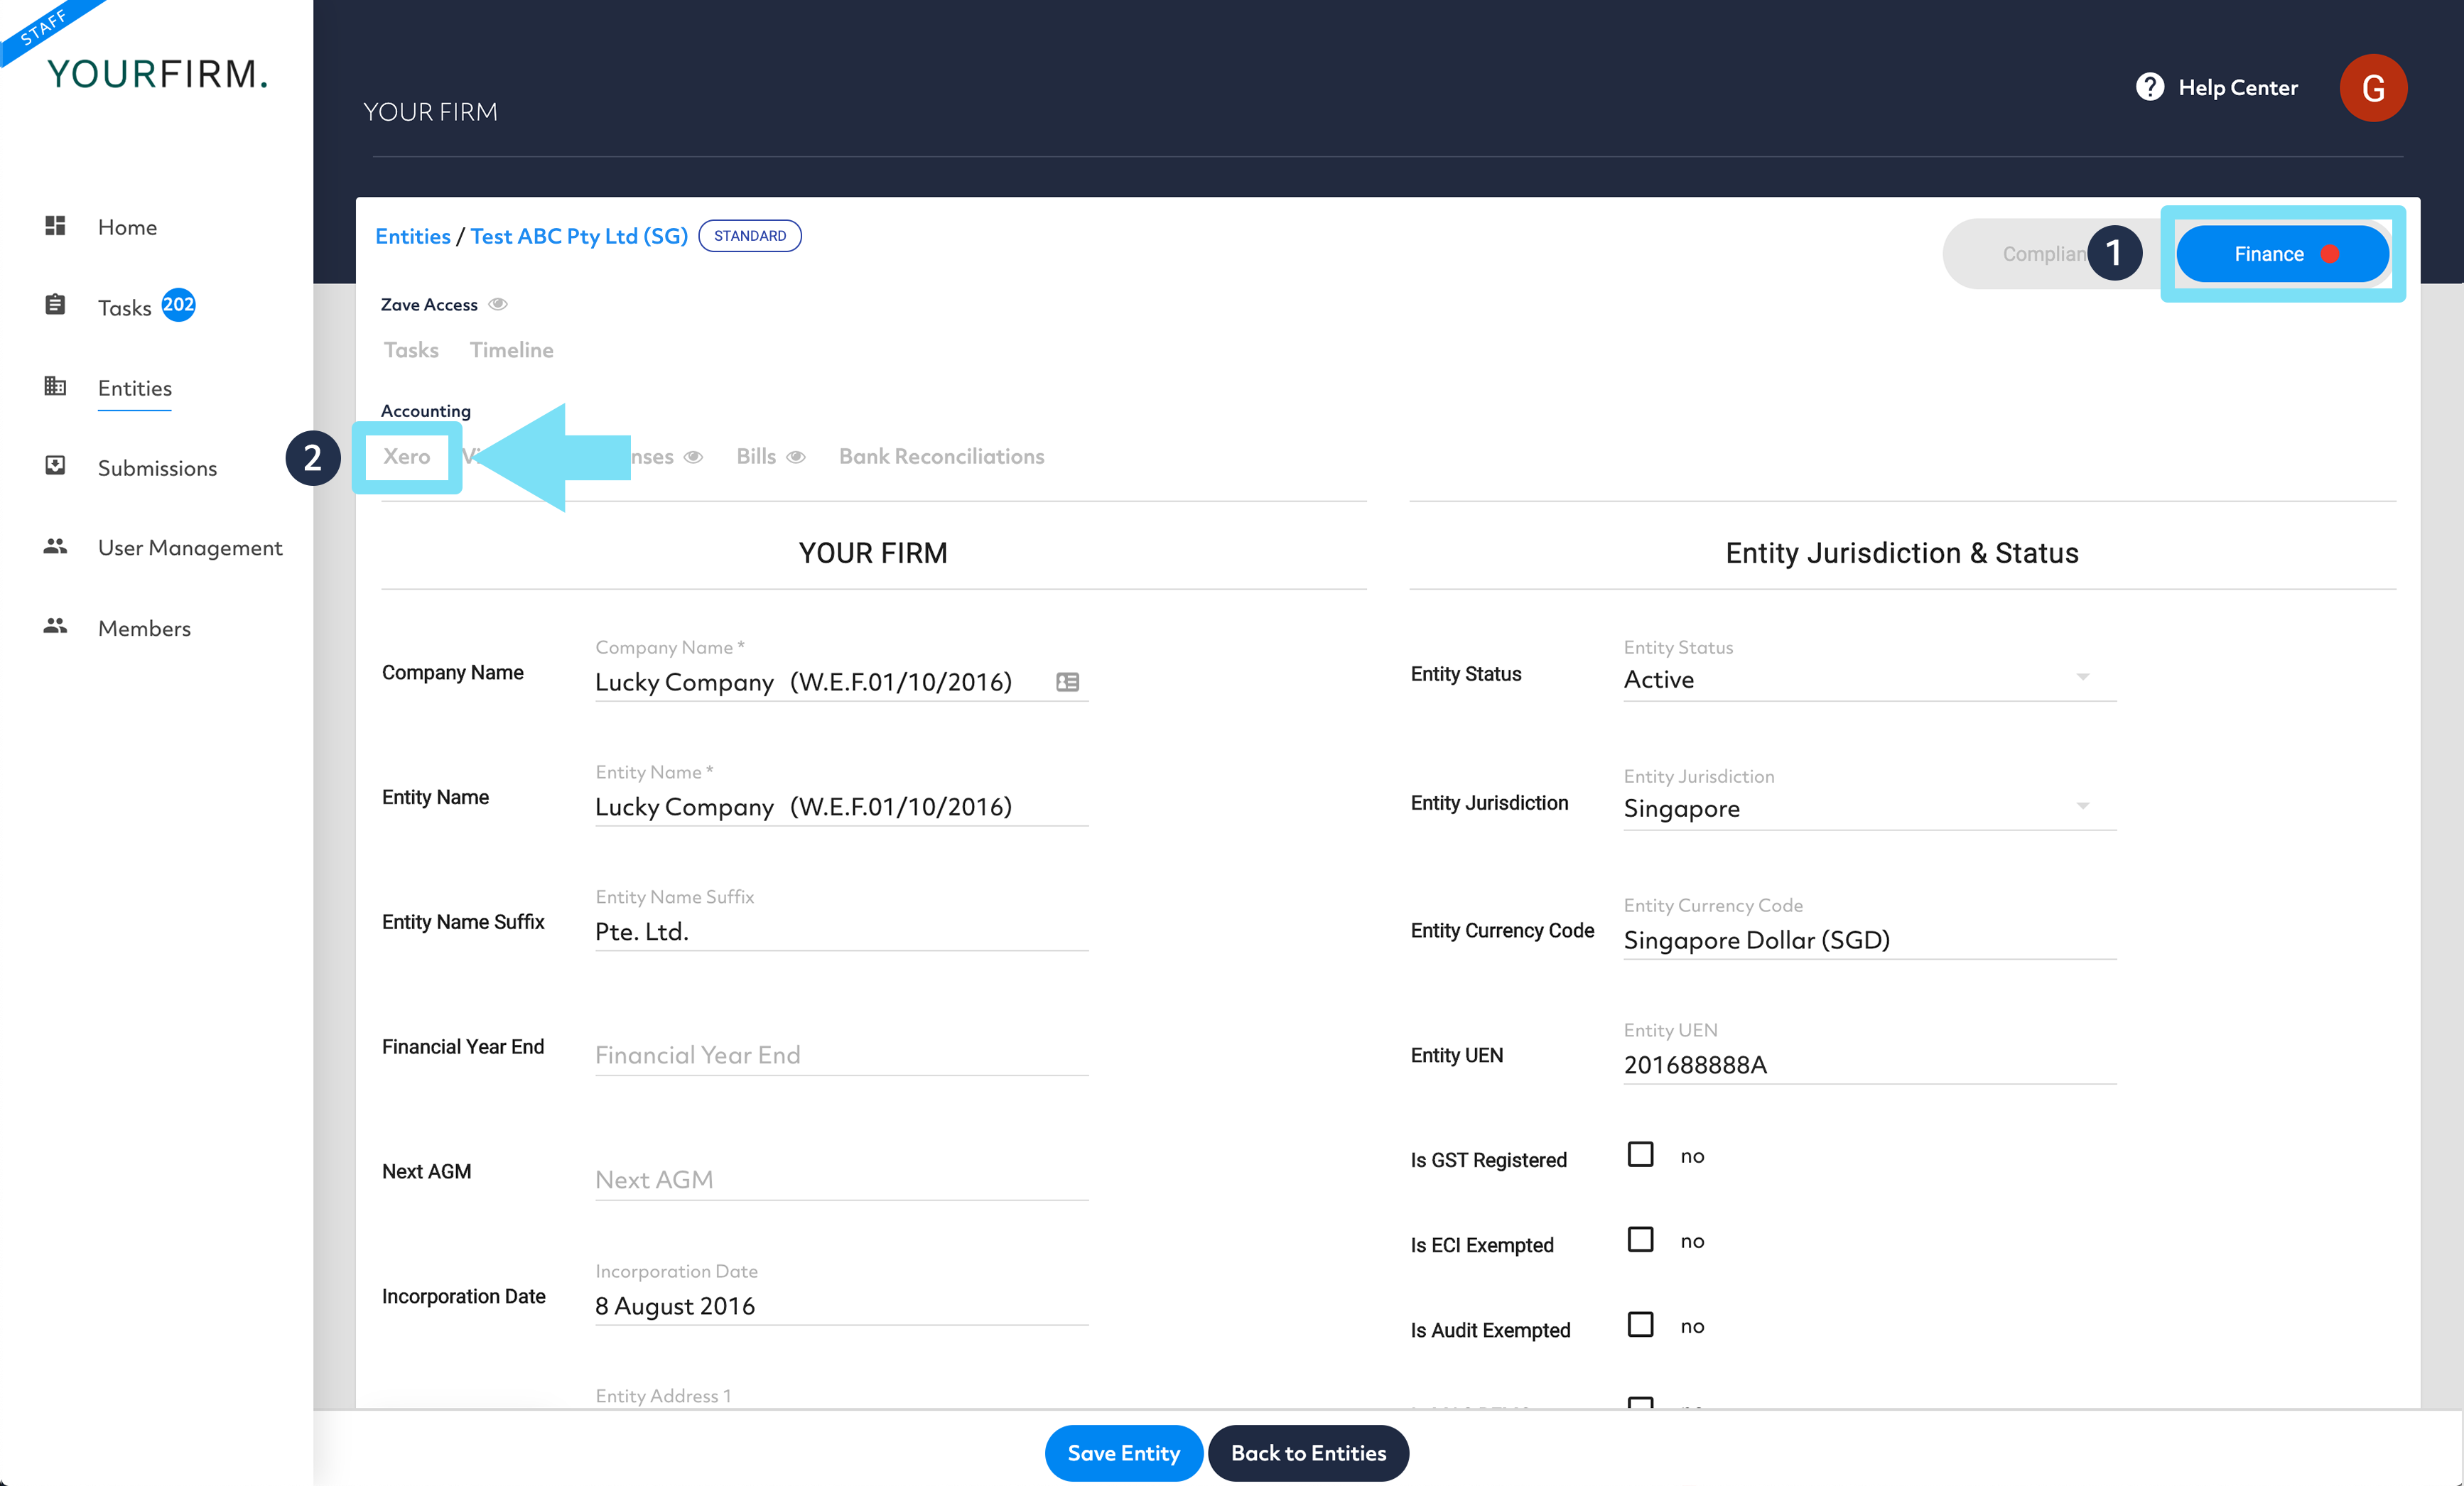
2. Click the entity in the light blue text will take you to the entity details section. Select the “Finance” tab and click the ‘Xero’ section to configure the setup.
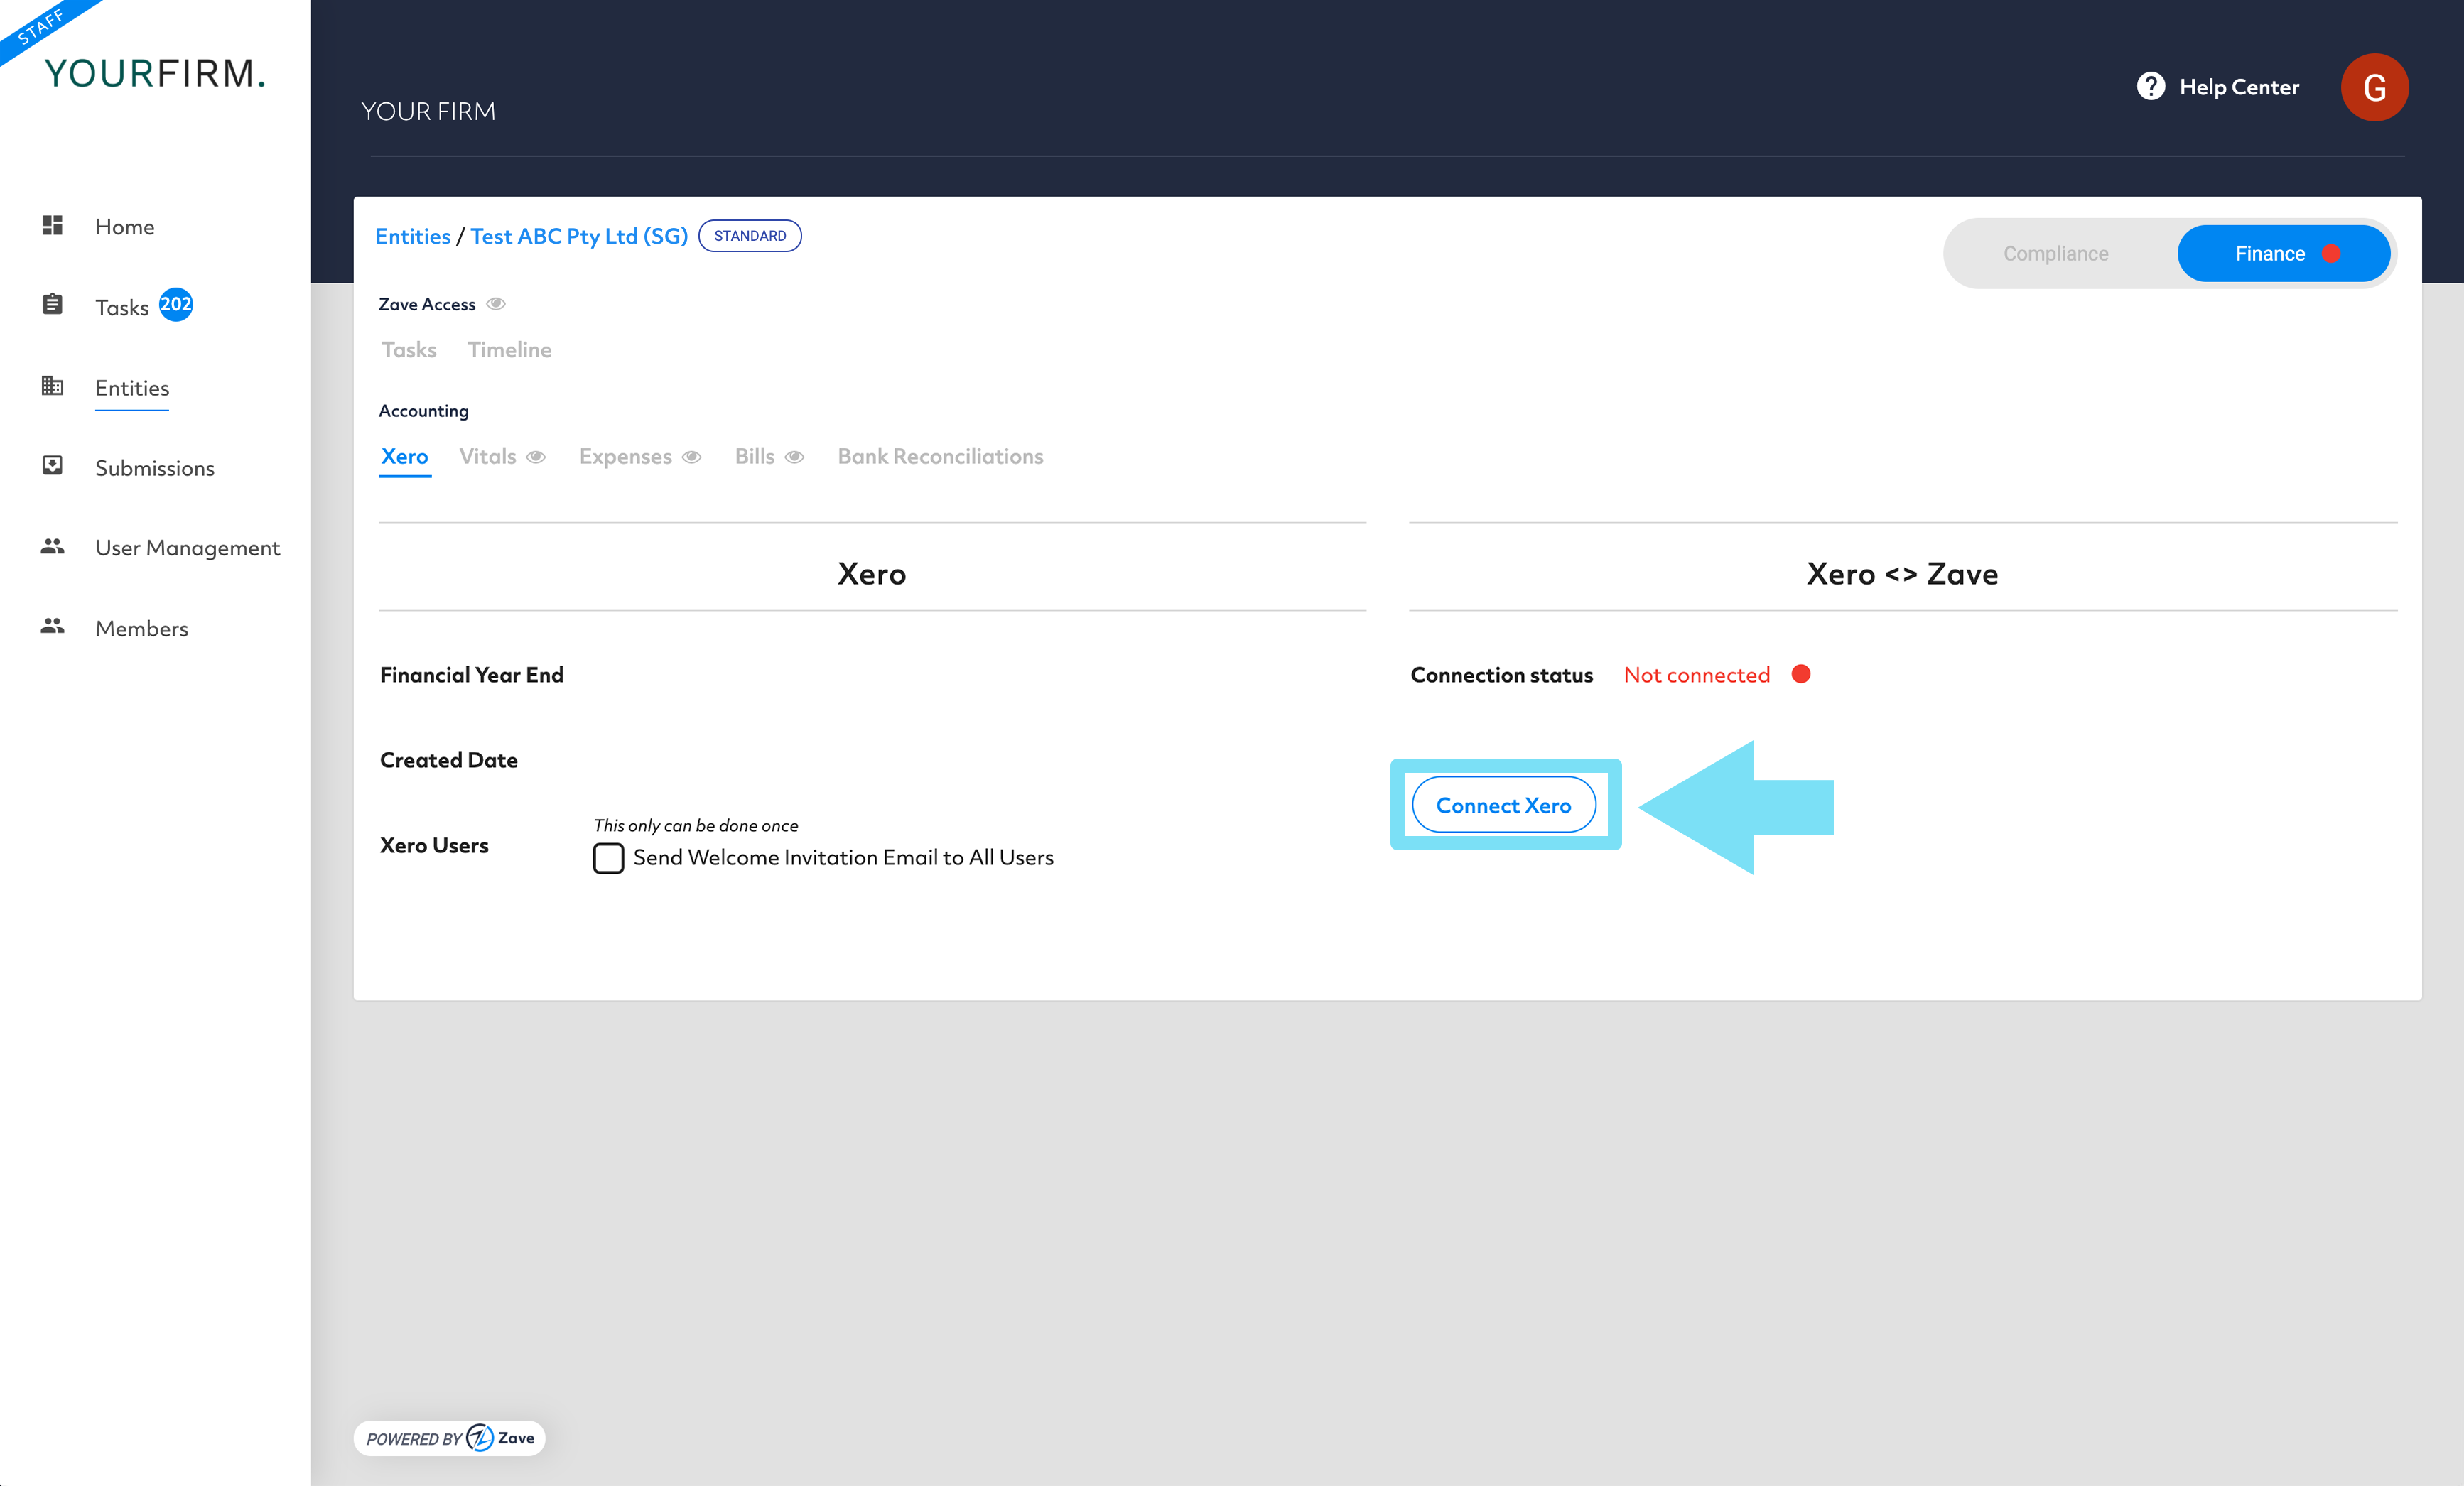
3. Click ‘Connect Xero’
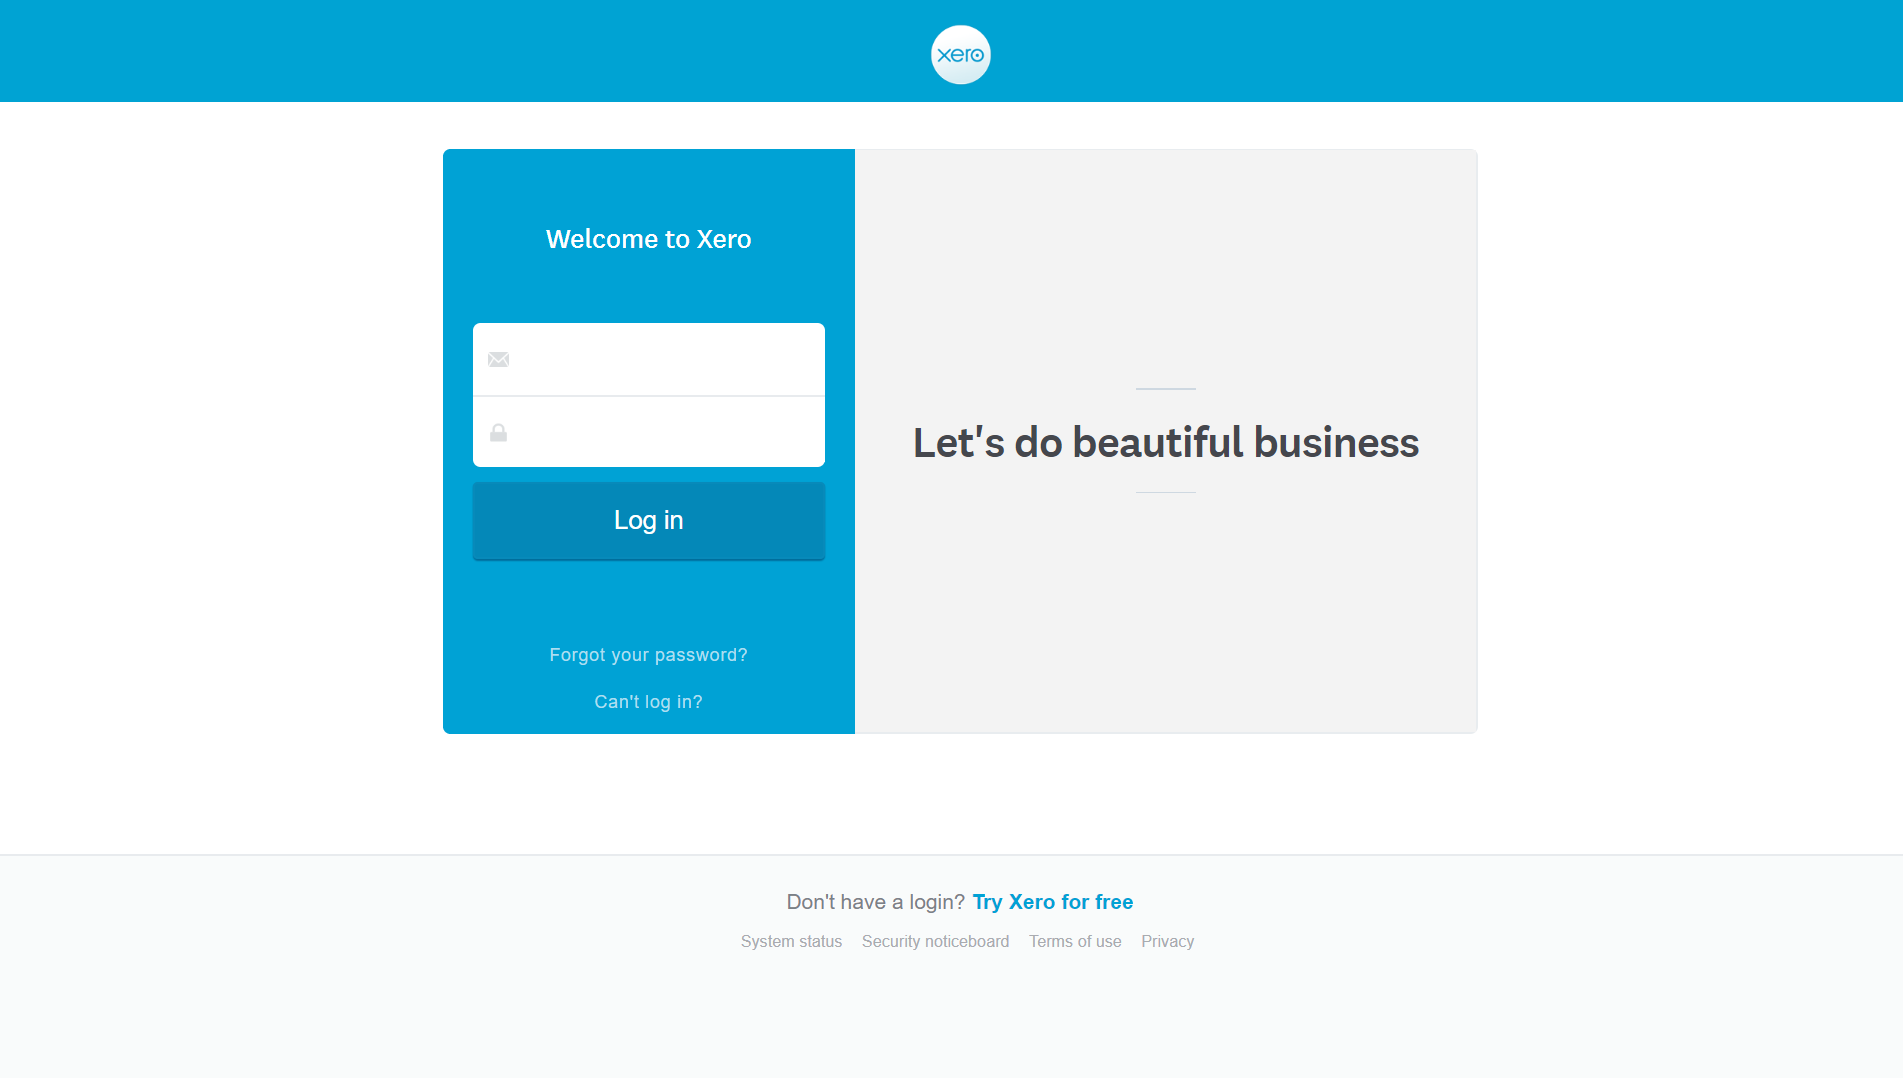
4. You will be redirected to the Xero login page.
Log in with the login details that have access to your client’s account.
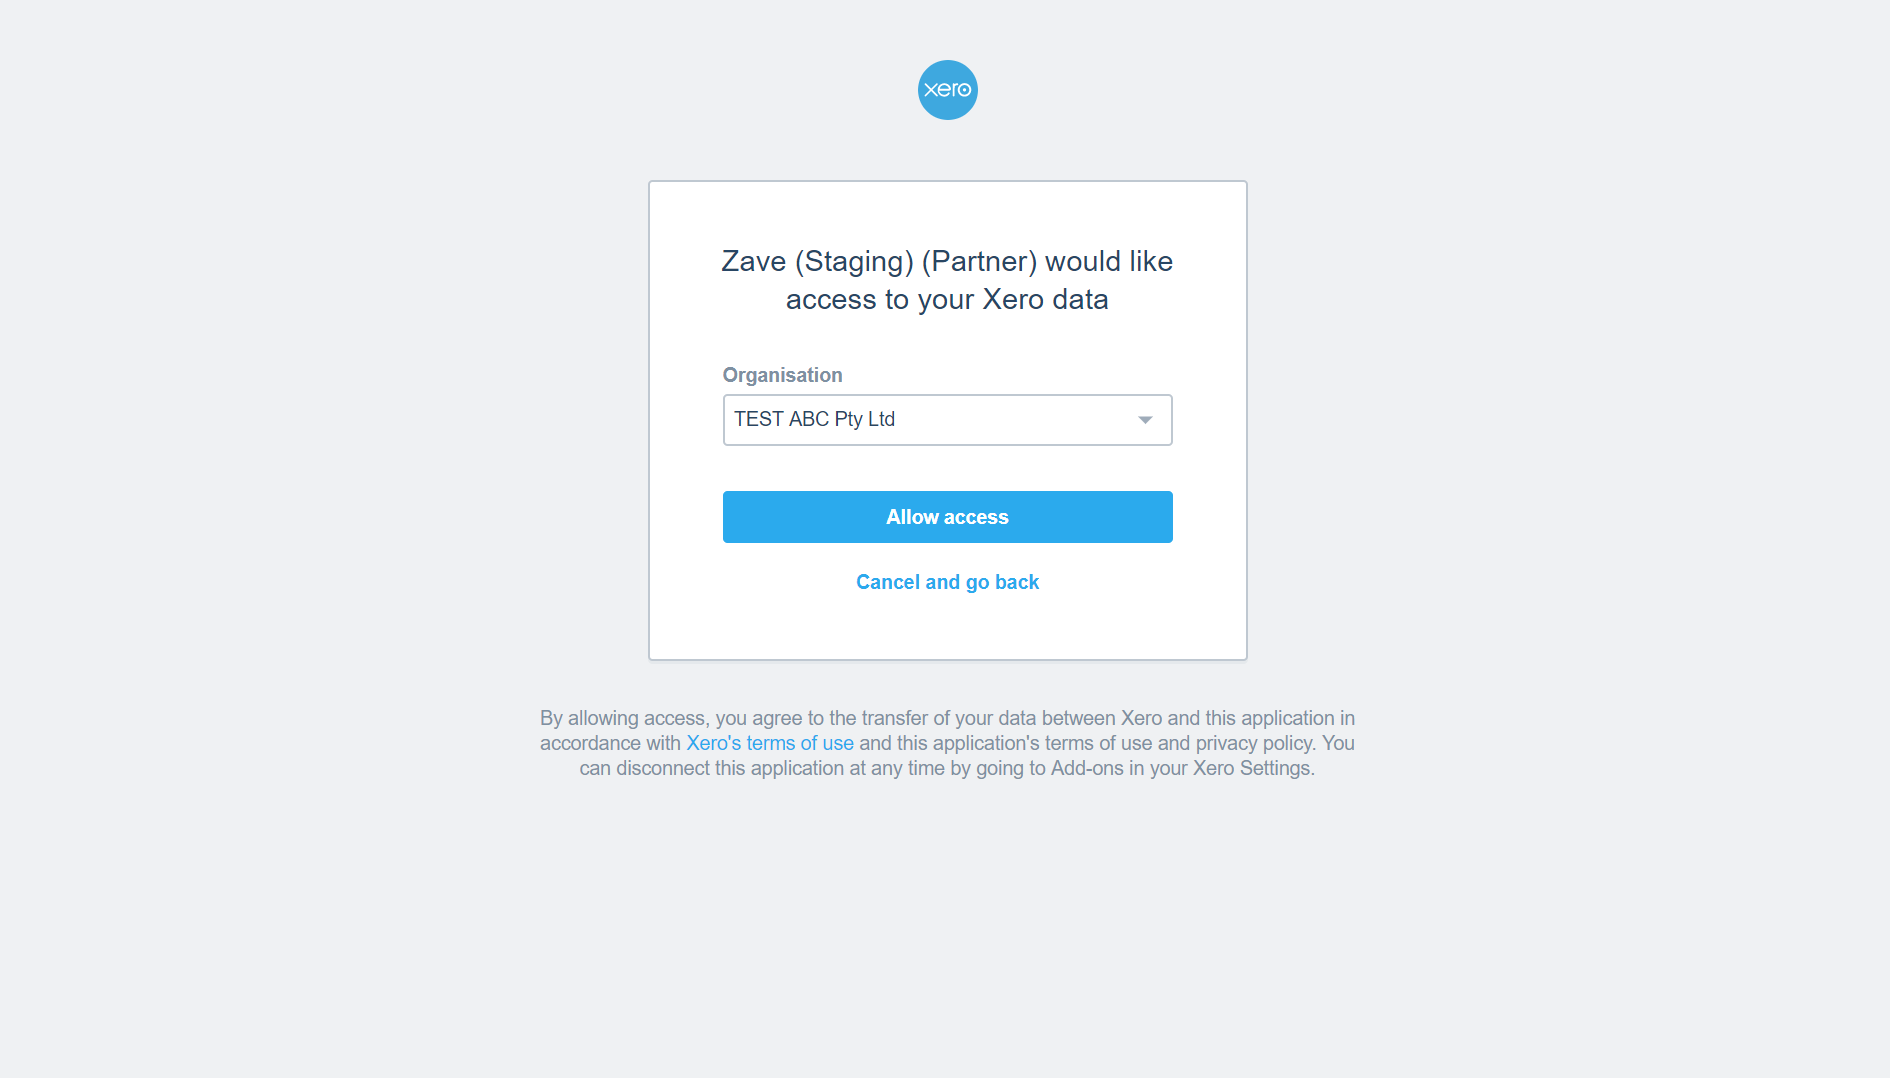
5. Once logged in, you will be prompted to select the organisation to be linked to the entity on Zave.
Select the entity and click ‘Allow access’.
6. You have now connected your Client’s entity from Xero to Zave!
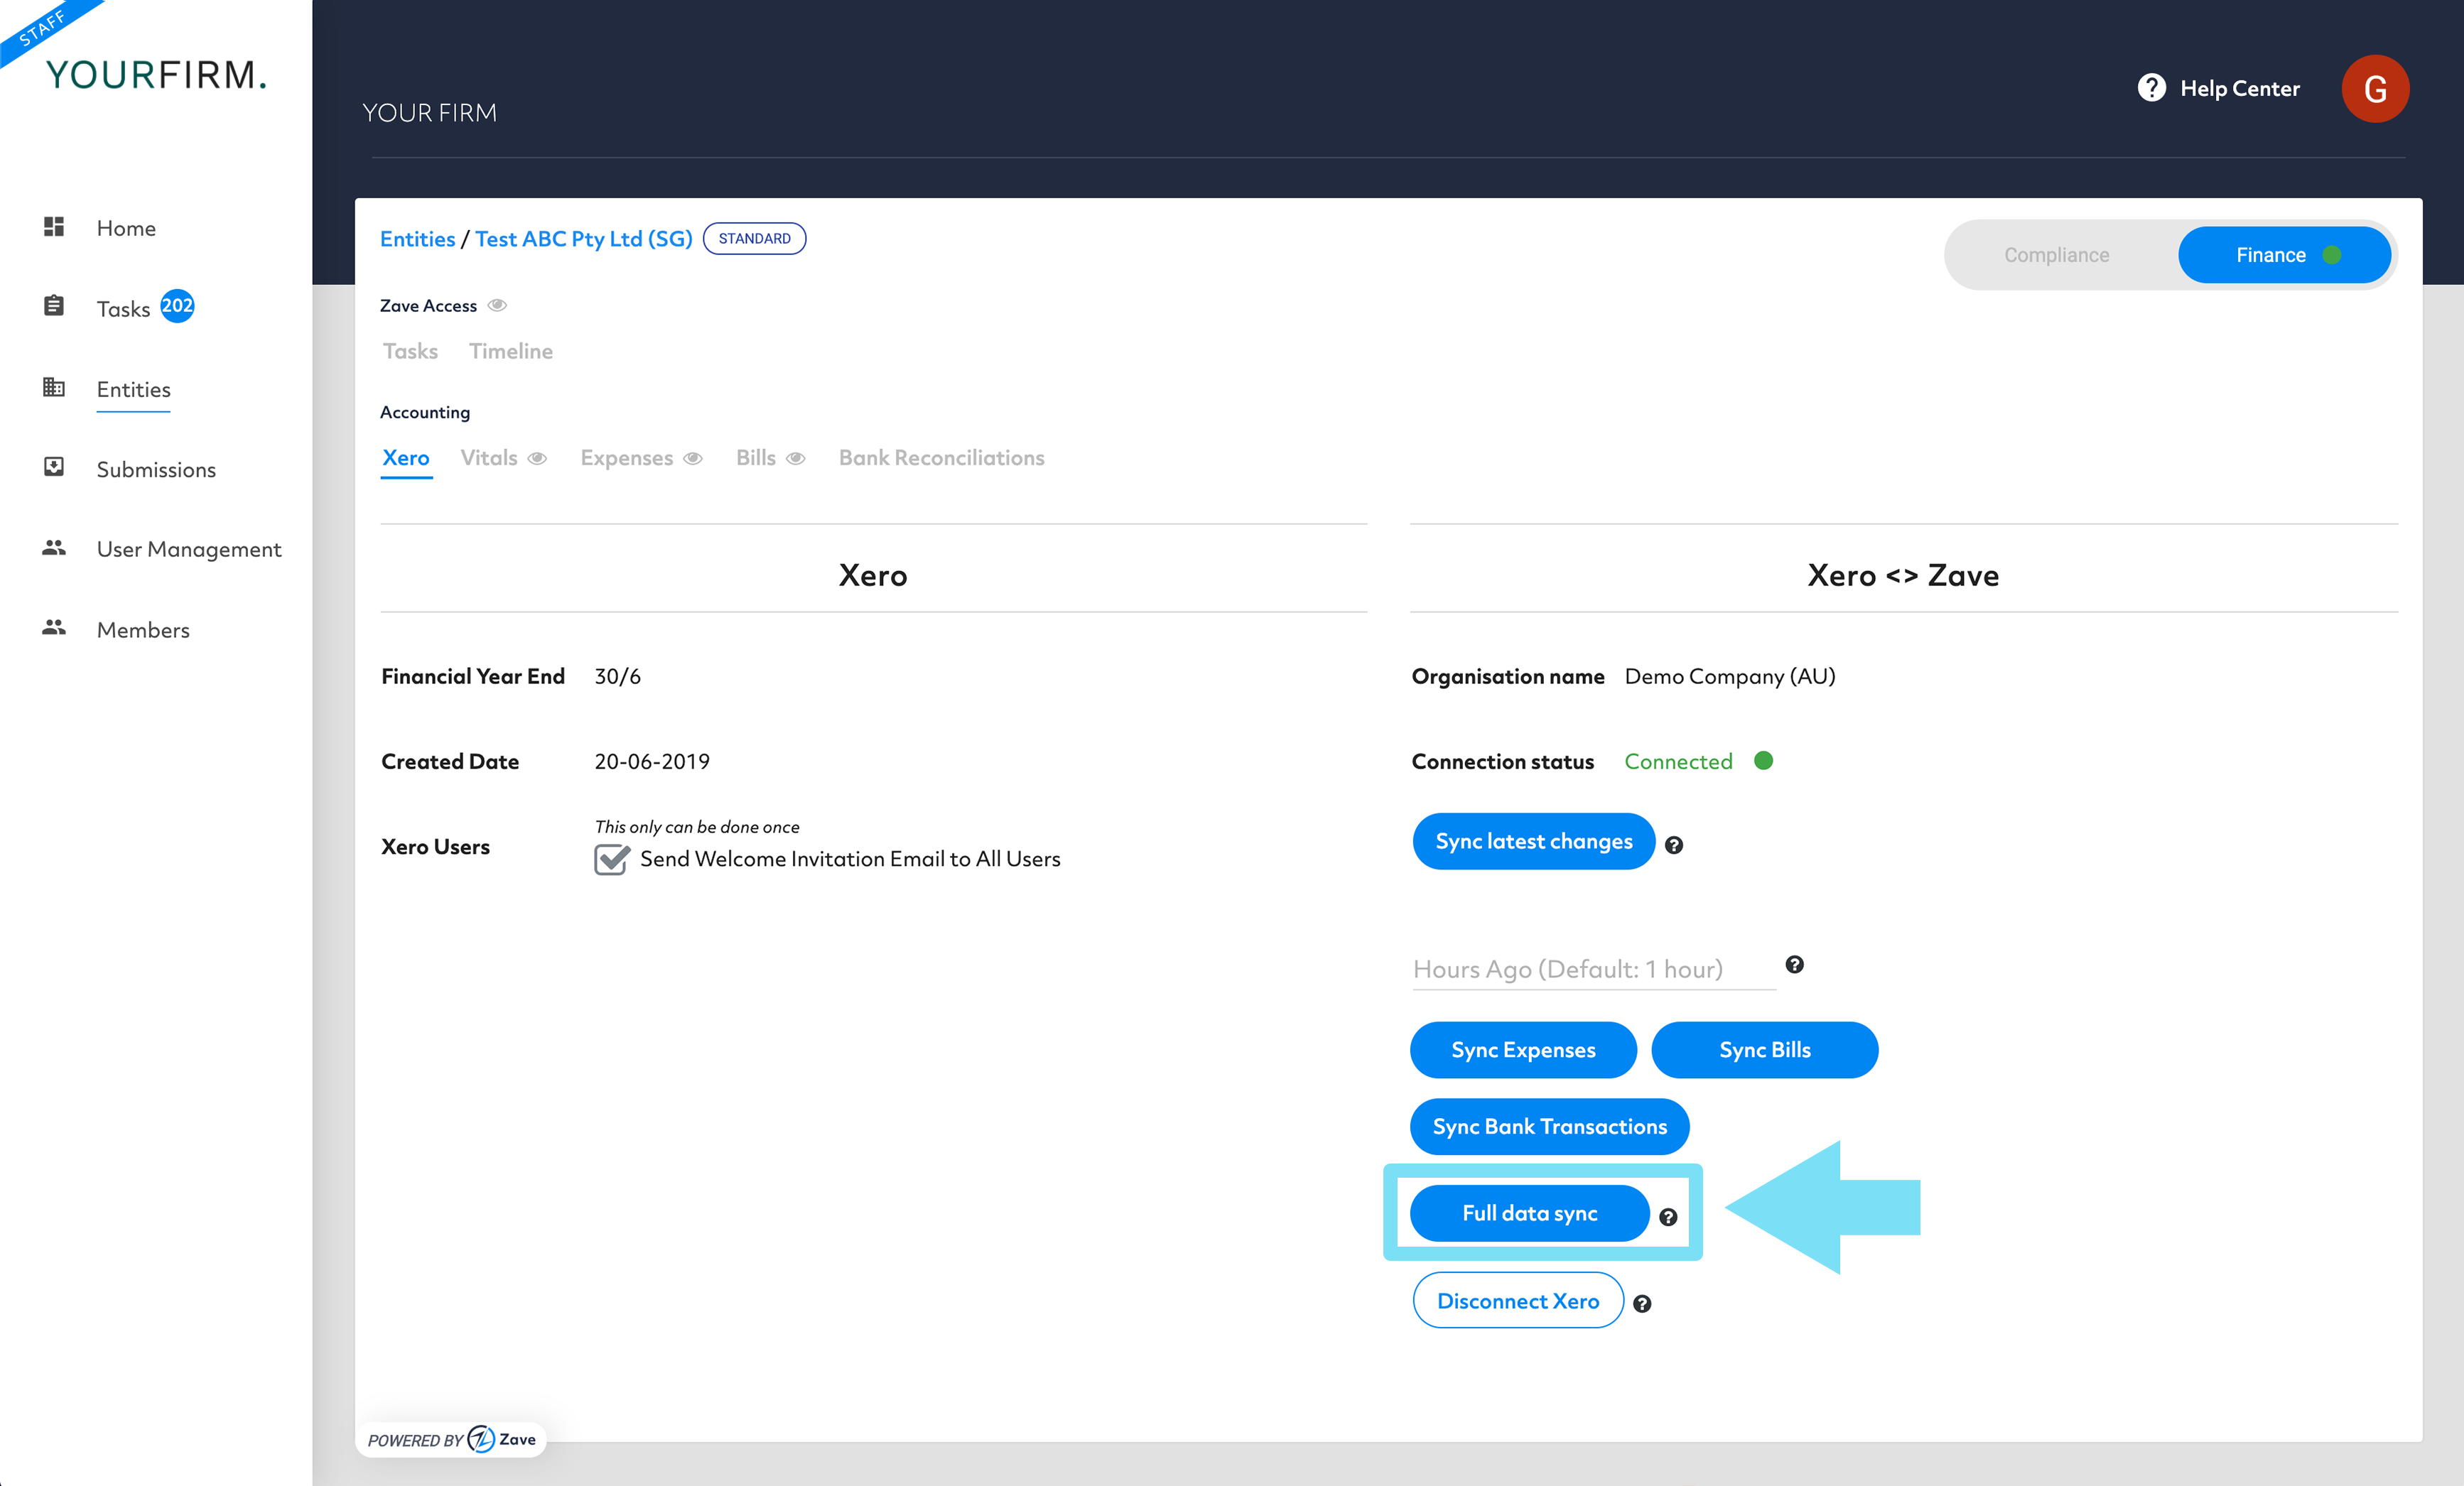
Now that you have integrated Zave with Xero, you can begin to sync the items between the two.
If the entity has an Xero account with data, then you will need to retrieve all the information by clicking ‘Full Data Sync’
Please note that this generally takes approximately 30 mins before matching the oldest data in the Xero account.
Related Articles:
Syncing data from Xero